
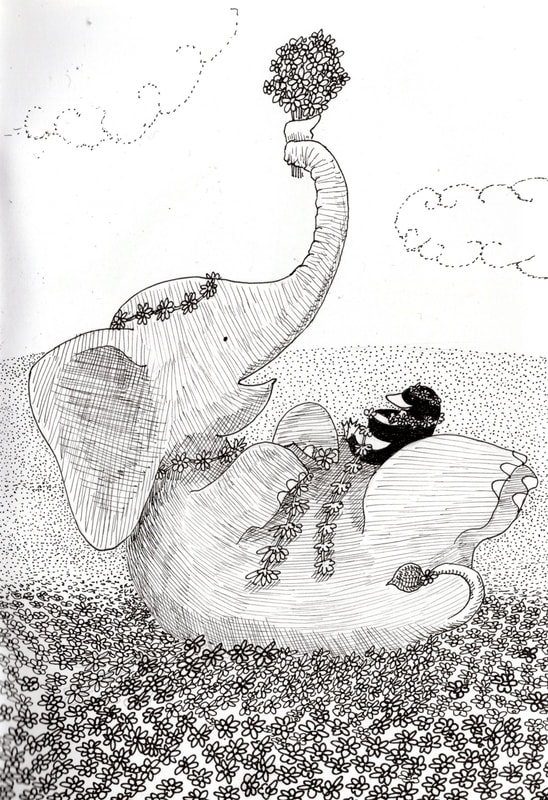
 Six months ago, I took a course called 'Imagining' over at Sketchbook Skool. I spent one of the weeks drawing the adventures of a penguin and elephant. I'd always intended to finish the sketchbook, but put it away and got distracted by other things. On route from Hawaii to Vancouver I pulled it out again- the perfect distraction from the potential tedium of a three-week boat voyage. 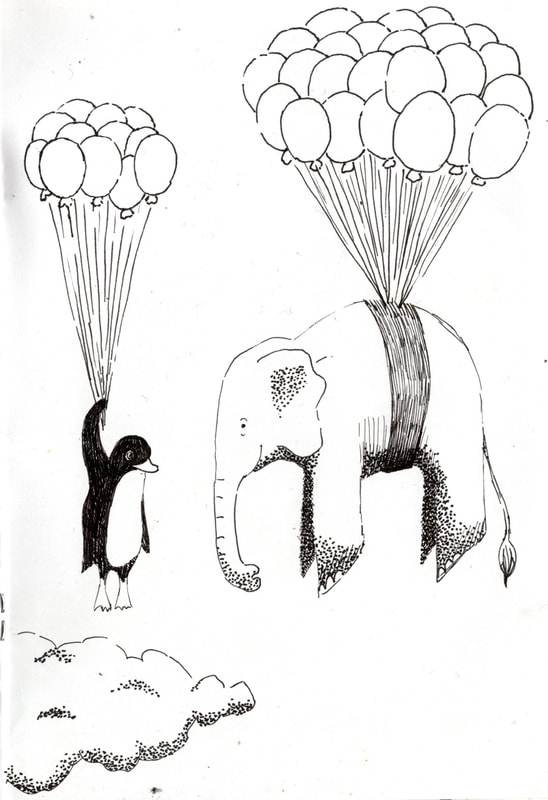 By the end of the voyage I'd created a series of illustrations, with a few more in pencil awaiting inking (I'll share them when they're done)! I'm thinking they might also look cute reinterpreted in watercolour and ink. I'm also thinking that they might make fun colouring pages if I turn them into line drawings- leave a comment if you'd be interested! In case you are wondering, I also worked on the sea monster book- but that's staying under wraps for the moment! 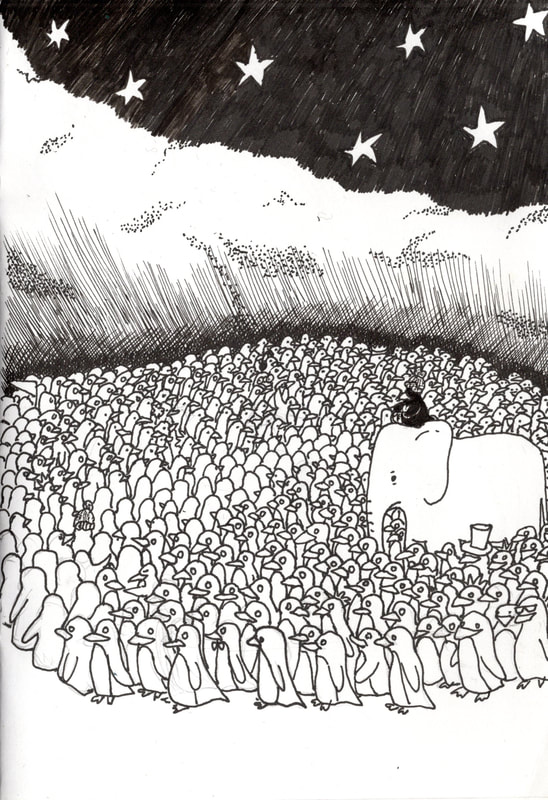 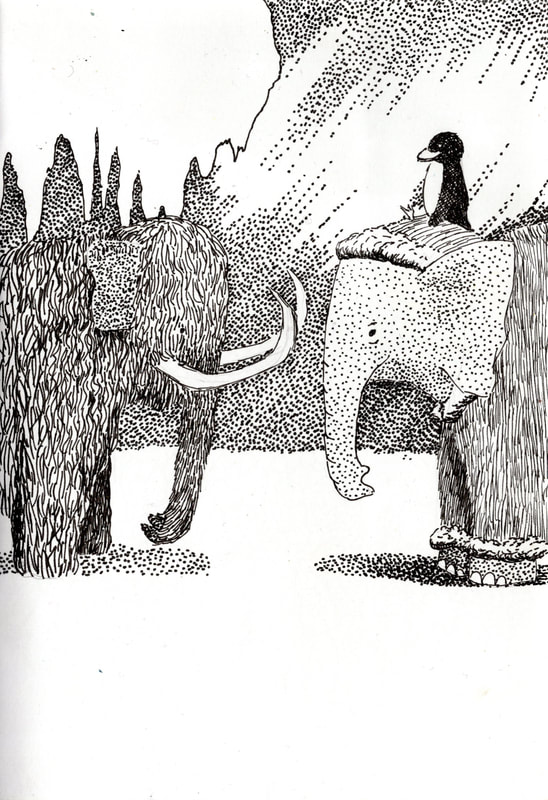 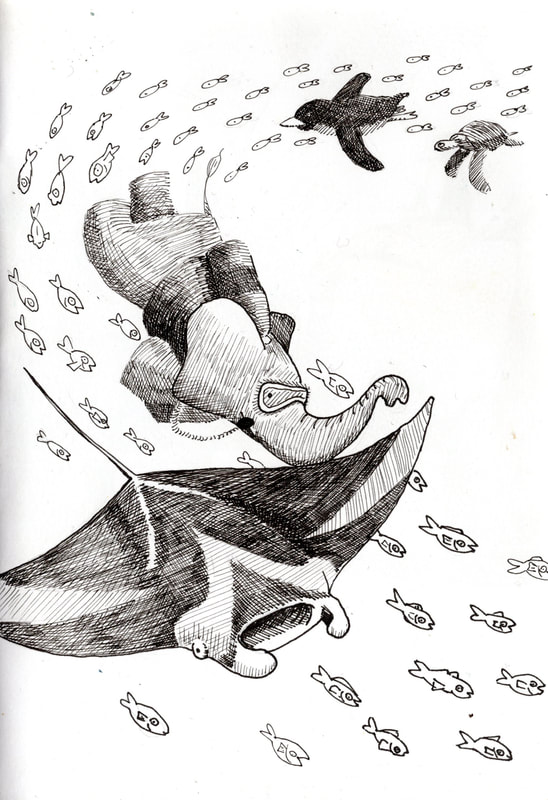 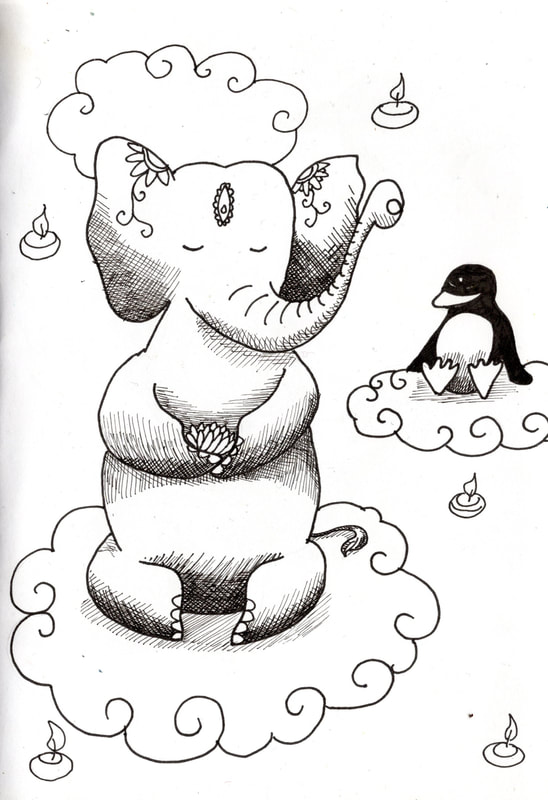 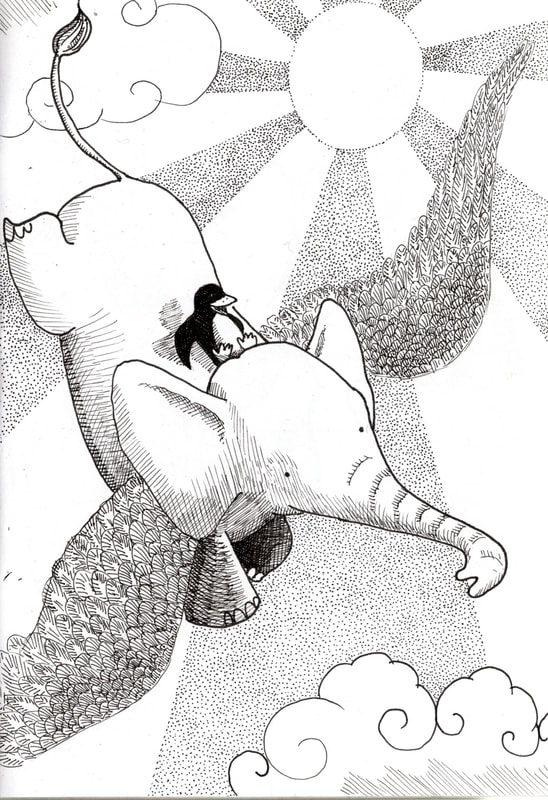 Below is a little slideshow with the original series of Pingu and Amuk drawings.
1 Comment
It's been a while! No, I didn't sink or get lost at sea, and I haven't stopped adventuring- but I have had a few things going on- including a secret project which I can finally let you know about!
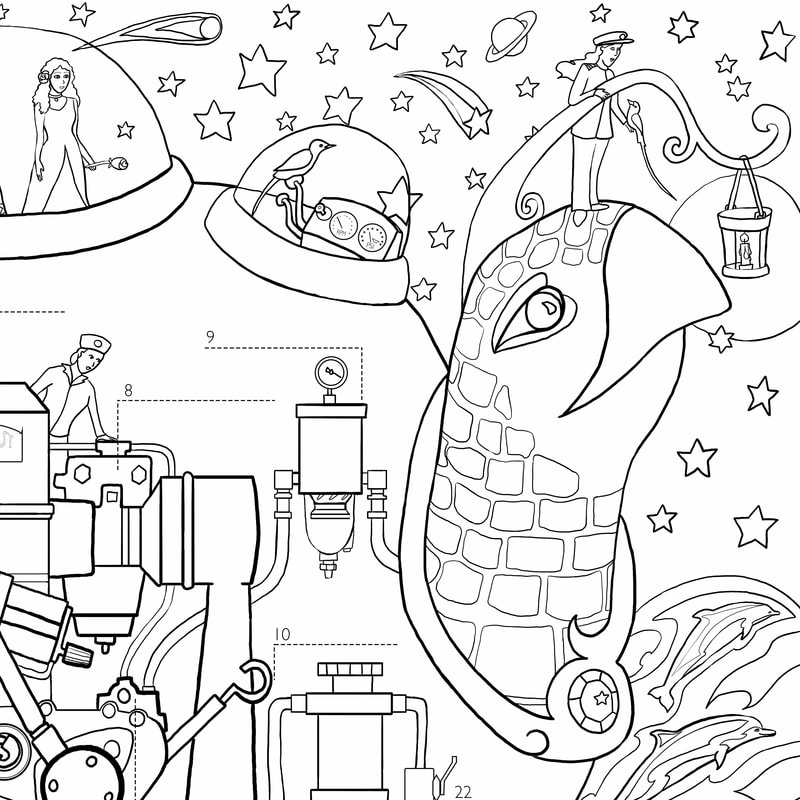
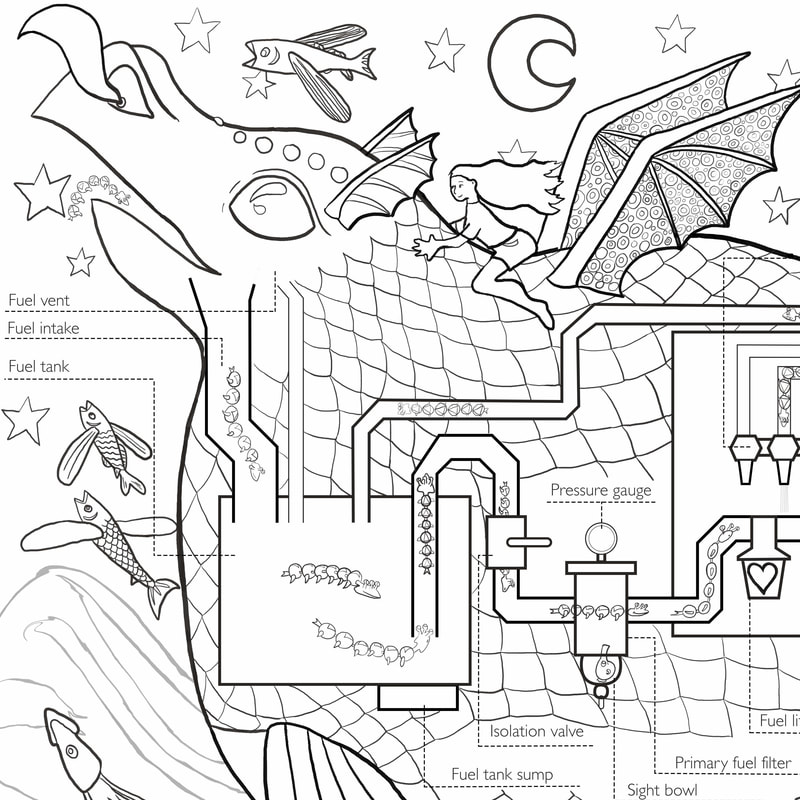
I've been working on an exciting illustration commission for Amanda Swan Neal of Mahina Expeditions, drawing the systems and inner workings of marine diesel engines. It's for people who never thought they could change a fuel filter or figure out how their boat's electrical system works (this was me before I started this commission)! If you're familiar with my artwork, you won't be surprised to hear that the illustrations have a fun and whimsical twist. Whilst we put the finishing touches to it, Amanda is trialing it at boat shows in the Pacific North West. Look out for her if you're in the area- you can get a sneak peek and purchase a copy (these early editions are helping to support girls' education in Fiji and Vanuatu- two places that have a special place in my heart).
I've also been the featured artist in the first 'refloated' edition of Sistership magazine (you can see a free preview here- it's a great magazine whether you're a sailor or an armchair cruiser) and my Maori- inspired watercolours have been featured by Gordon Harris- my favourite art store back in Auckland.
On the less exciting side of things, the humidity has been playing havoc with my laptop and my phone is going the way of the dinosaurs. Looks like a technical revolution is needed- or some of those sea monsters snuck into my devices! 
With all this going on, plus writing and illustrating a children's book and exploring Hawai'i, I really didn't think I'd managed much painting or sketching in the last month or so. But somewhere along the line three sketch booklets got filled up and I managed to participate in the annual drawing challenge One Week 100 People. So apparently art is what I do in my time off from making art- which means I'm doing what makes me happy!
I have a couple of blog posts in the works to catch up with my Kona adventures. I'm also setting up a regular newsletter- it will come out every few weeks to keep you informed of blog posts, new artwork, videos and tips- and I'll be including exclusive creative downloads, including free colouring sheets in your first welcome email. If you'd like to sign up you can use the box below!
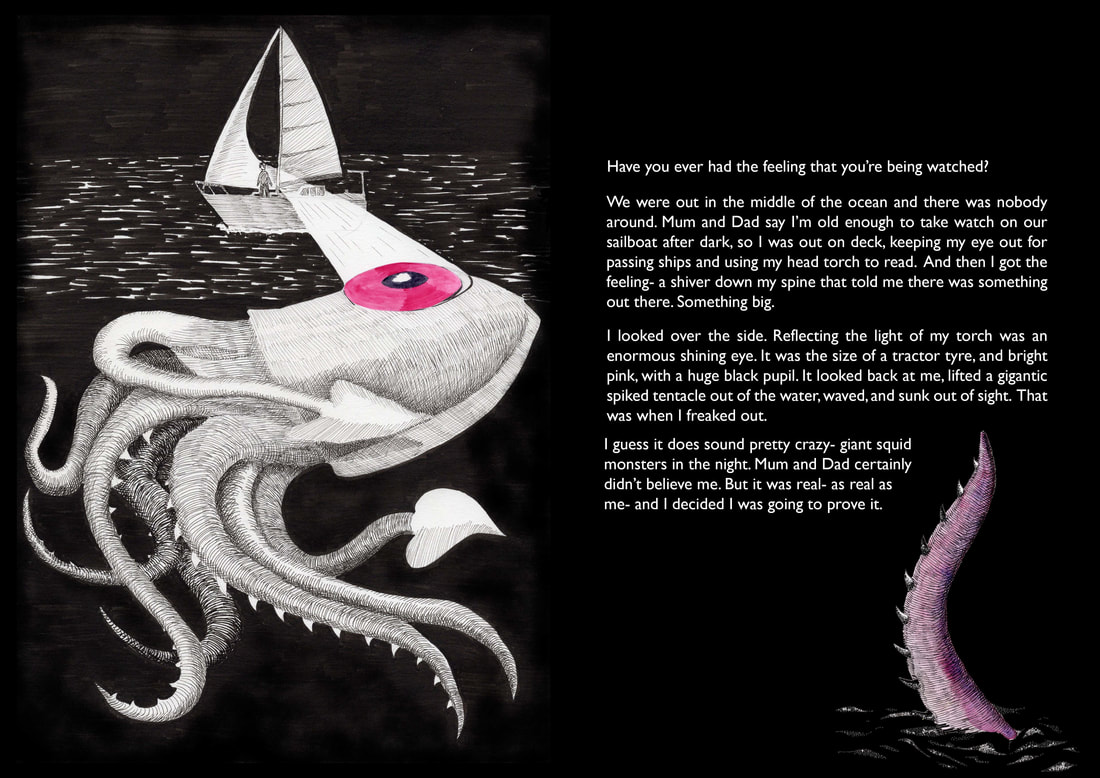
In my last post, I said that my giant squid monster had led to something even bigger. Well, he got some friends. First was the tropical island angler fish, then the sea dragon and the tentacle-tongued ship swallower. I brainstormed things that sea monsters could do, or what they might look like. I was challenged to draw a sea monster a day for a month- cheating slightly, I counted my first four monsters as four days worth (though up till then my daily monster rate had varied between 2 and 0.4) then set to work on creating a sea monster every day. I mostly used Copic multiliners to draw with- I love the range of sizes and consistency in their ink flow. My Rotring Tikky liners had a thicker ink flow- great for juicy, shiny eyes and rich dark blacks. Continuing with the same media and theme has started to help my art- I soon found that my cross hatching and stippling improved, and my monsters became more textured with increased depth. I got better at thinking of little details that would make my monsters more interesting and bring them to life. You can see monsters 1- 11 in the gallery below, and read their stories on Instagram and Facebook 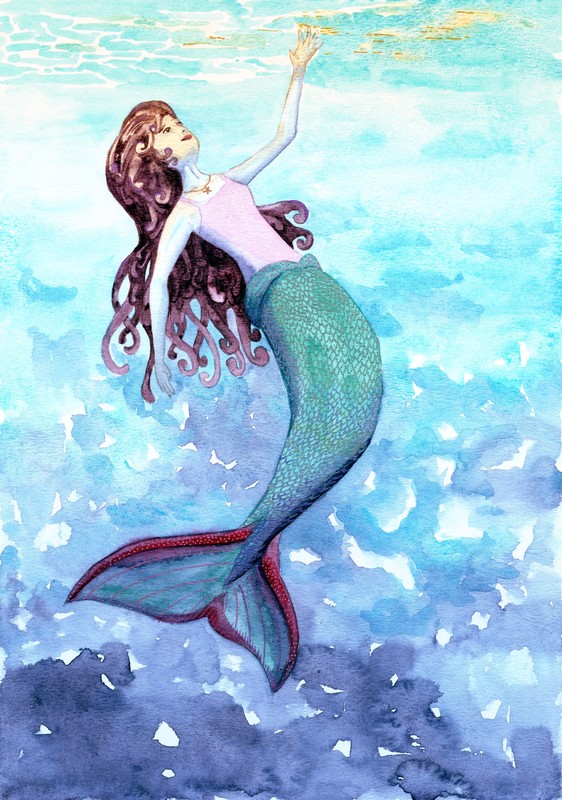 First- I'm trying something new... The links in this post for the art supplies I love are affiliate links to Amazon UK. If you follow them and make a purchase- even something other than art supplies- it will help me to buy Jim the occasional cup of coffee (he deserves it after all this boat maintenance)! Rest assured, my site will remain ad-free and my link posting policy hasn't changed- I'll only ever post links to things I love. Now onto the art... On Sunday morning, I painted a mermaid. The boat was rocking, I woke up early, and I was thinking about mermaids after seeing Colour Made Happy's mermaid challenge over on Instagram. So I decided to get creative, and this is who swam along. Dolphins were a good reference- I used the video I took last week (watch it here if you missed it) to get an idea of how her tail might look. The foreshortening was the trickiest part as I wanted her to appear as if she was swimming up- it took a few sketches to get it looking plausible, and it's not as dramatic as the idea in my head. Something to add to my list of 'skills to practice'! The tail and water were fun, as I got to let my watercolours do the talking. I'm finding turquoise and indigo are great for showing the levels of light in the water, and a bit of yellow ochre seemed perfect for the sun shining through and the reflection on her face. I managed to take a step away from painting things the colour I 'know' they should be, and used the indigo and turquoise again for the shadows on her arms and body. Huge sigh of relief- it added to the sense of depth instead of making her look like an alien (although I guess mermaids could conceivably be blue)! The hair was the most fun to draw (I do like sketching wavy, curly shapes!) and I painted it in a wonderful Daniel Smith paint called Moonglow. This paint is a blend of three colours, which looks like rich reddish grey. Building up layers, removing paint with a damp brush or letting the paint granulate all allow parts of the component colours to come through- this can create surprises but also makes it a very interesting paint to work with. It was another slight gamble, but I've played with it quite a bit when painting whales and the purpley auburn that I got tones in nicely with the rest of the paper. I used Kaiser metallic gel pens for her scales, because of course mermaids need a bit of shimmer! I bought these pens on a whim, but love them- they're great for fine detail, and don't get absorbed by the watercolour paper. They're not waterproof, so washing a damp brush over them results in a sparkly wash! 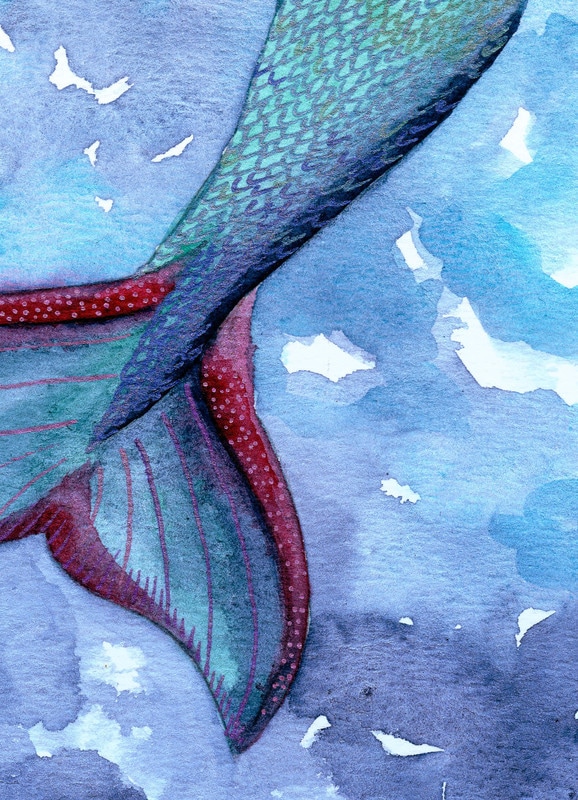 It was a lovely relaxing morning, except for the fact that the boat was still rocking. Here's a small video snippet of liveaboard art (I do normally have the sense to position my brushes so they don't roll around, but I wanted to illustrate the point!). The background soundtrack is Jim fixing one of our leaky portholes. Thankfully things have calmed down a bit today. Jim's been fixing a hatch cover and getting our Raymarine autopilot working, and I've been doing laundry ashore and researching the paperwork required for leaving New Zealand and entering French Polynesia. Things are coming together...
The Tutukaka Coast is alive with birds- we often see and hear tui and fantails I've been playing with layering watercolours, ink, paint markers and gel pens. I put down the watercolour wash first, then overlaid the black ink with brush pen. Posca paint markers and gel pens created the patterns and swirls- the gel pens give the ethereal metallics and the Posca markers are brighter and bolder. Finally, I used watercolour to add shading and a little softness to some of the pen detail. I've uploaded the designs to my Redbubble shop- click each photo for the link. 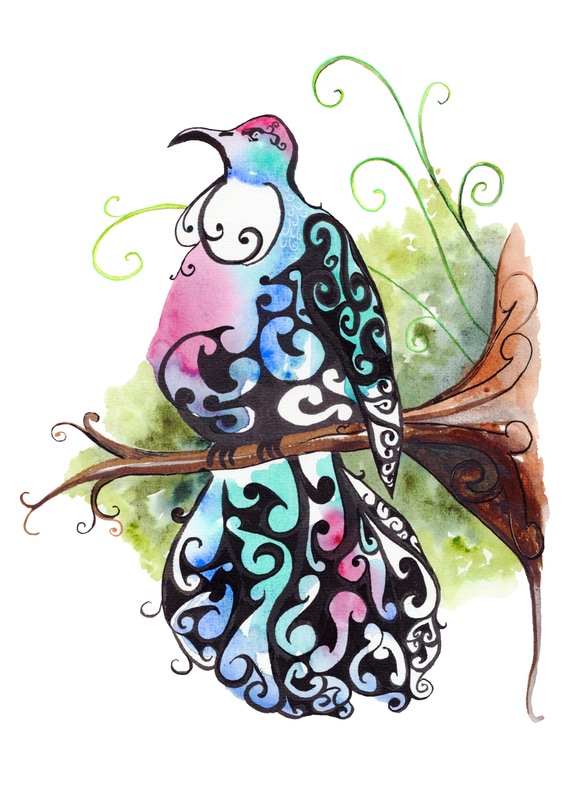 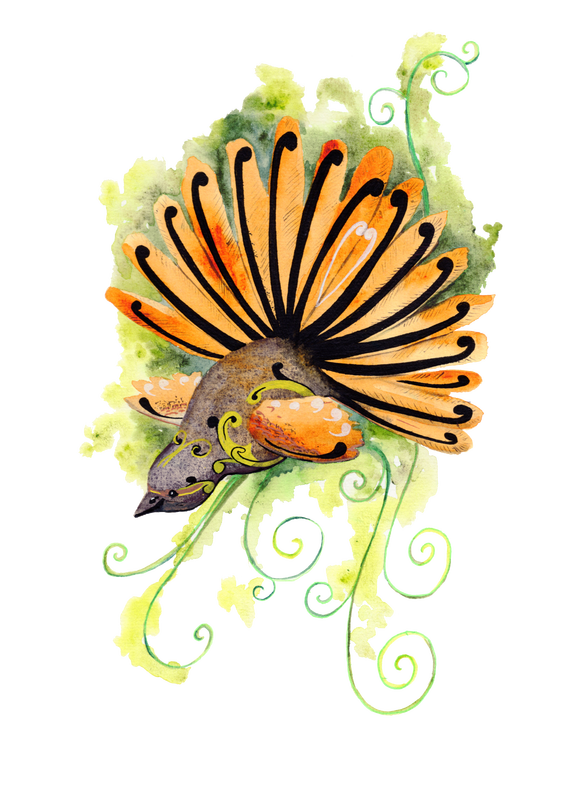 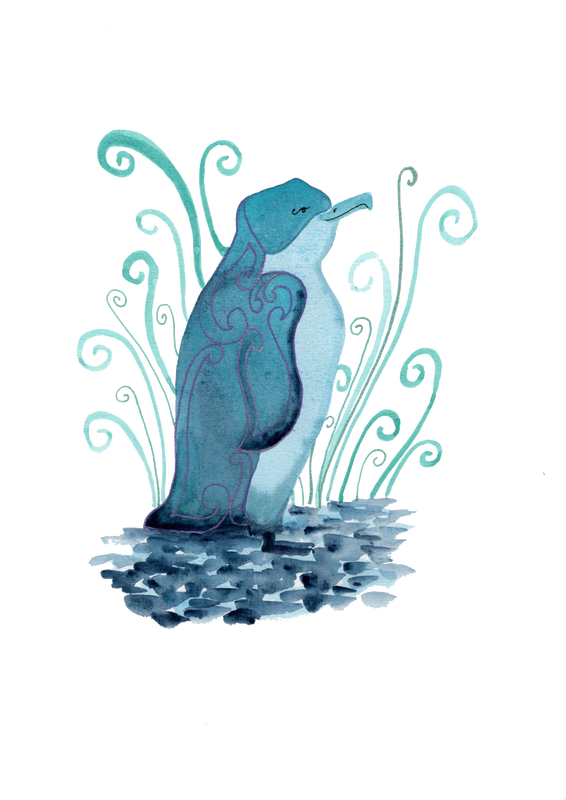 Charlie O'Shields has asked me to write a guest post over on Doodlewash.com. You can pop on over to find out about what got me painting and my adventures on Island Prism. It's a great website with monthly challenges and tons of inspiration! https://doodlewash.com/2017/01/13/guest-doodlewash-an-artist-afloat/  I was very excited when my order of ink samples from Goulet Pens arrived, along with a couple of ink syringes. The syringes are supposed to be used to transfer ink into my fountain pens without creating an eco-disaster, but I soon got distracted by other possibilities! I made a video as I went- I've added more instructions and details about supplies below. I started off by creating the bell shape with some water from a pipette- a water-loaded brush would work just as well. Then I pulled a very small amount of gold ink into the ink syringe and squirted it into the water bubble. It only took a few drops- and watching the ink swirl in the bubble is so pretty! I added the darker red, then used a brush to trail some water to make the tentacles. Once again I squirted ink into the water- occasionally a little too much would come out but I think the blobs add interest. In fact, the inspired me to try drawing straight from the syringe! It was also perfect for adding some little dots, then I used a brush and some water along with turquoise ink to paint the water. A few swirls with a white Posca paint marker was the perfect finishing touch. If you fancy trying this yourself, ink syringes are available from Goulet, and you can pick up a whole rainbow in ink samples from them for about $1.25 per sample (I used Noodlers Apache Sunset, Ottoman Rose and Navajo Turquoise). They also ship worldwide and the samples are so well packaged they survive international transit (I am in no way affiliated with or sponsored by Goulet- I'm just a fan!). You can also drop the ink in from an eyedropper or paintbrush. It will be a bit less precise but equally pretty! If you give this a try, then please let me know how it goes in the comments, send me a link to your pictures or tag me on Facebook or Instagram- @andreaenglandart I'd love to see what you come up with! 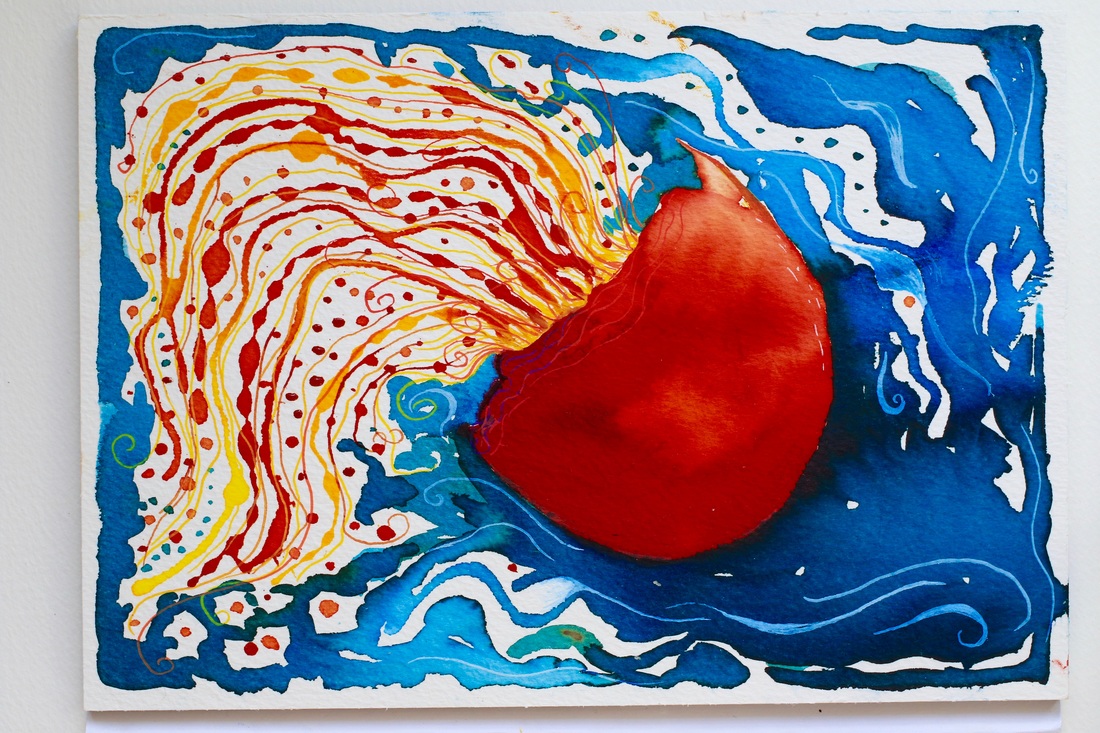 There's a wonderful sense of achievement when you finish a picture that you've been working on all week! I began drawing a word with illustrated letters last weekend. In my infinite wisdom I decided I'd work on it in ballpoint pen and would cross hatch the whole thing. This probably meets Andrea Joseph's success criteria for 'drawing like a barmpot'. I have worked in biro before, but this A4 drawing was the largest yet.  Some things I learned:
I'd love to hear what you think!
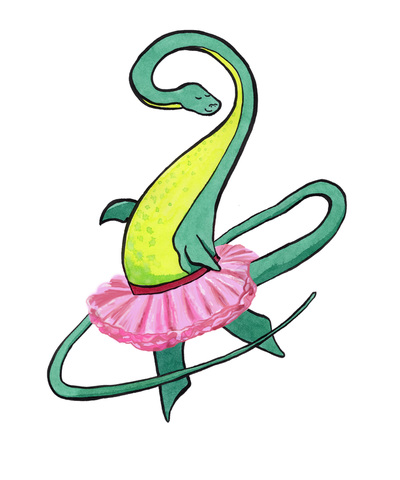
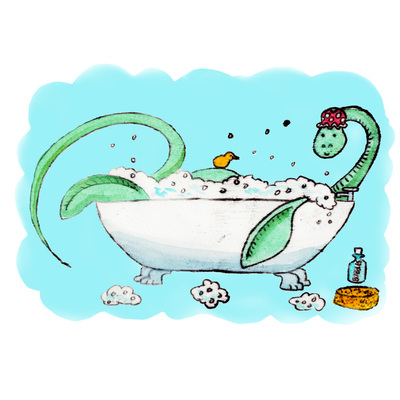
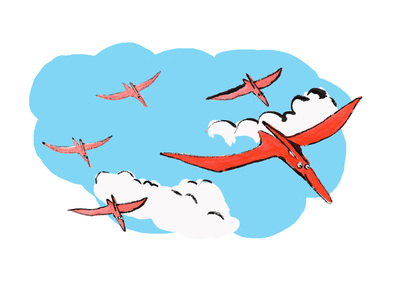
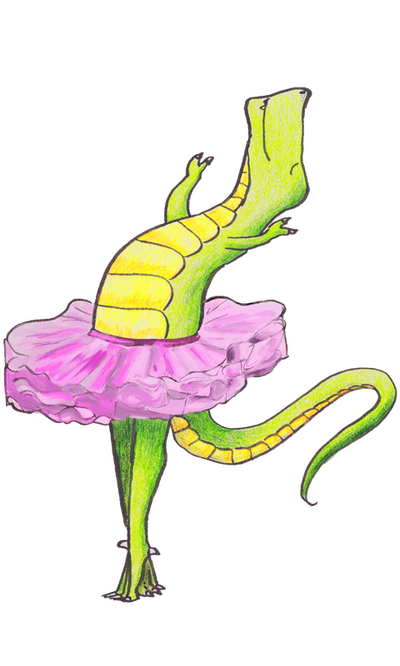
 It's been a busy month. At school, I've been working with Year 7/8 students to write then rehearse the script for our full school production- which, with a cast of over 800 is getting bigger than Ben Hur! At home I've been taking Andrea Joseph's Creative Lettering course at Sketchbook Skool. I was a little hesitant- I love Andrea's work and teaching style but wasn't sure about a whole four weeks of lettering. I quite like calligraphy, but could I do almost a month of it? Every day? I was worried I'd get bored. I was wrong. 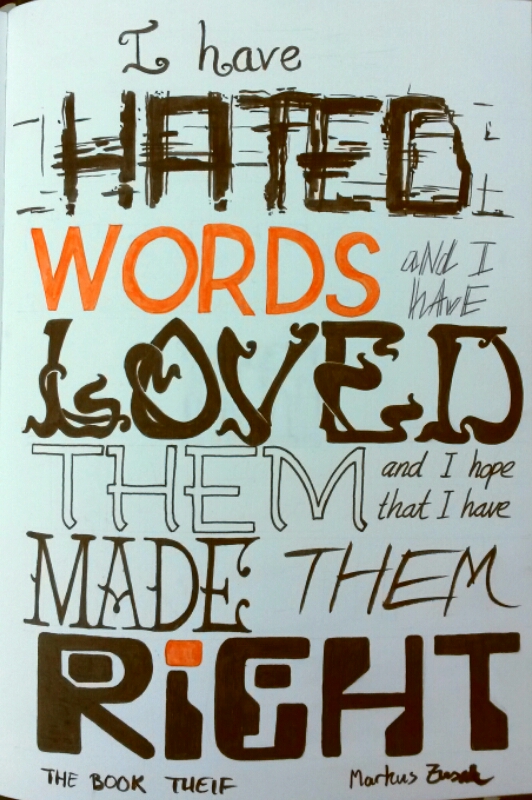 Every day Andrea posted a new video for us to watch, and most days we had a new piece of homework. I like playing with ideas and didn't always complete tasks in a day, with the result that the course finished yesterday and I am approximately a week behind. This isn't a bad thing- I've learned a LOT, and feel very inspired. Many of the ideas are things I will be able to adapt and utilise when the course is over, which is why the initial 'playing around' stage is so important to me. I've got over my feeling that 'lettering must be perfect' but can now make it close to perfect if I want to. I can create words that are pictures and pictures that are words and I hope that the lettering in my sketchbooks will never again be a hastily scribbled and embarrassing afterthought. 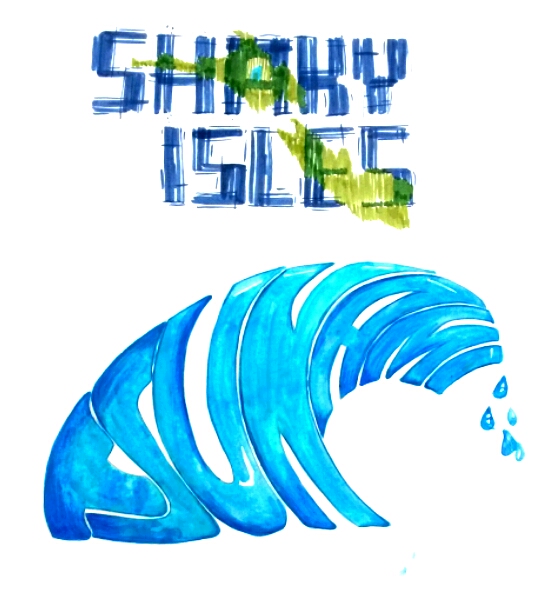 Andrea's instruction is excellent and the course is inspiring. Definitely recommended if it's run again. And I still have access to all the course materials, so I can take my time and enjoy finishing off- between helping direct our cast of hundreds! On with the art- and on with the show! Which style of lettering do you like best? Write a comment- or click my instagram link to see more! 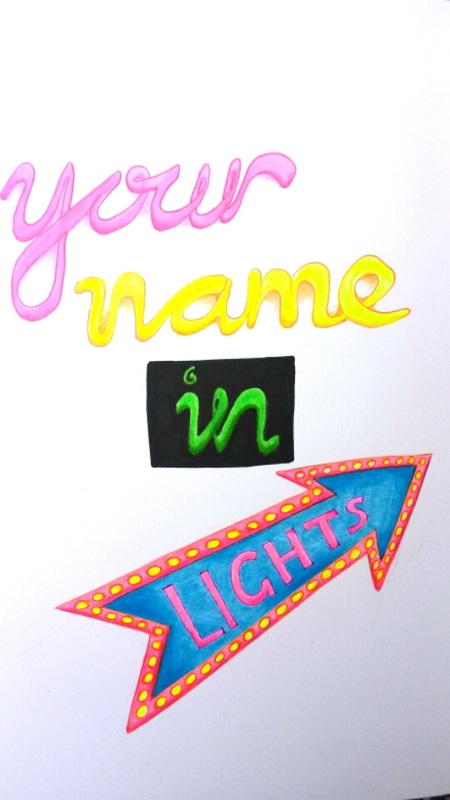 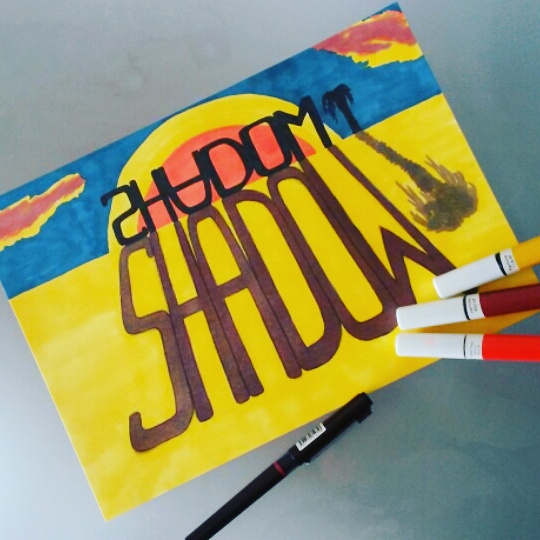 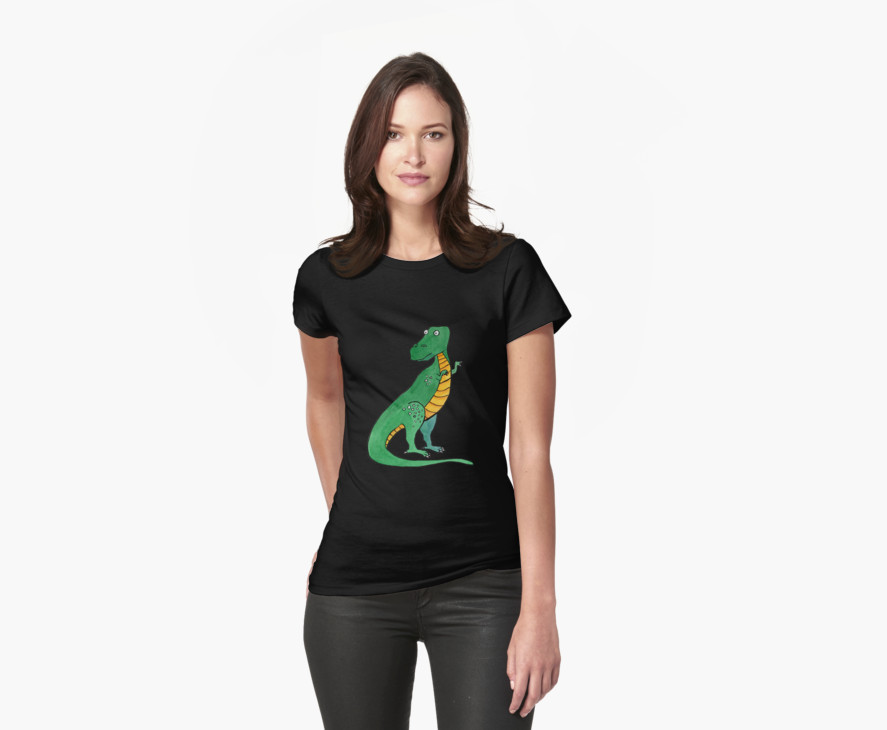 The dinosaurs got out and are now running rampant over at Redbubble, where they can be found adorning stickers, t-shirts, hoodies, laptop sleeves and skins, bags, cushions, cards, wall prints and anything else they can get their claws into*. If you'd like to take a peek, or perhaps even adopt a dino, click on the photos here or go to the shop link at the top of my webpage. The 'Available Products' option under each dino on the site does pretty much what it says on the tin (or tab)- and for apparel you get a wide choice of styles and colours. The dinos are suitable for boys, girls or those of us who never totally grew up. * Brontosaurus and Plesiosaur would like to point out that they don't have claws, but this does not get in the way of them being loveable.
|
Andrea England
An Artist Afloat- Painting the world one anchorage at a time. Archives
August 2020
Categories
All
|
 RSS Feed
